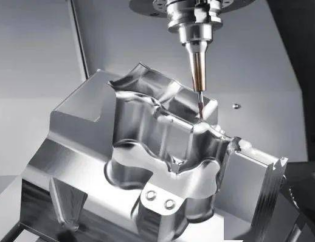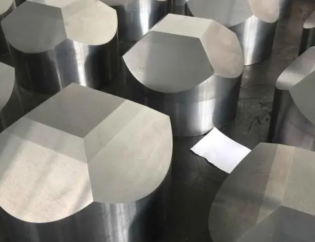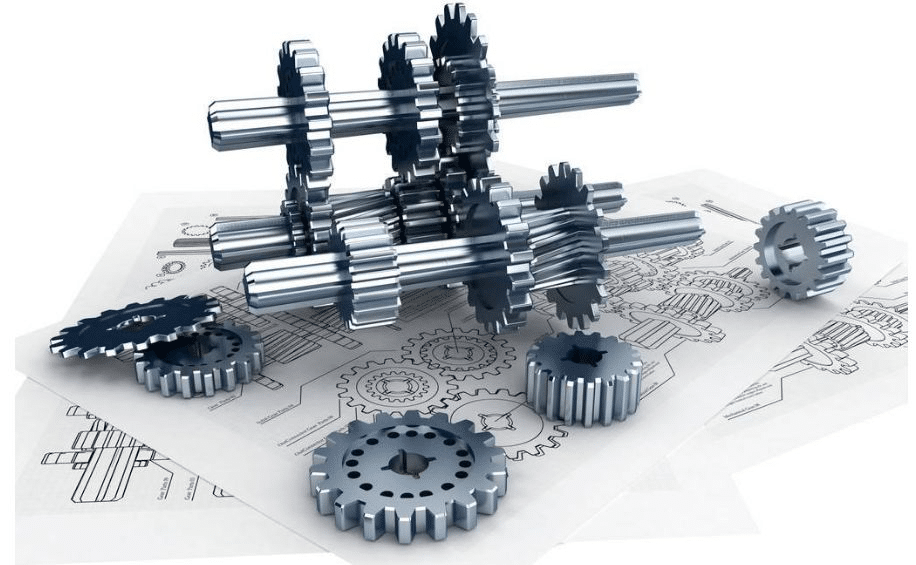
The material and structure of the workpiece will affect the deformation of the workpiece
The deformation is directly proportional to the shape complexity, aspect ratio and wall thickness, as well as the rigidity and stability of the material. Therefore, in the design of parts, the influence of these factors on the deformation of the workpiece should be reduced as much as possible.
Especially in the structure of large parts, the structure should be reasonable. Before processing, the hardness, porosity and other defects of the blank should be strictly controlled to ensure the quality of the blank and reduce the deformation of the workpiece.
Deformation caused by workpiece clamping
When the workpiece is clamped, the correct clamping point should be selected first, and then the appropriate clamping force should be selected according to the position of the clamping point. Therefore, the clamping point and the support point should be consistent as far as possible, so that the clamping force acts on the support. The clamping point should be as close to the processing surface as possible, and the position where the force is not easy to cause clamping deformation should be selected.
When there are several directions of clamping force acting on the workpiece, the order of clamping force should be considered. For contacting the workpiece with the support, the clamping force should act first and not easily too large. For the main clamping force balancing the cutting force, it should act last.
Secondly, the contact area between workpiece and fixture should be increased or the axial clamping force should be used. Increasing the rigidity of the parts is an effective way to solve the clamping deformation, but due to the shape and structure characteristics of thin-walled parts, it has low rigidity. In this way, deformation will occur under the action of clamping force.
Increasing the contact area between workpiece and fixture can effectively reduce the deformation of workpiece during clamping. For example, when milling thin-walled parts, a large number of elastic pressing plates are used to increase the stress area of contact parts; When turning the inner diameter and the outer circle of the thin-walled sleeve, whether it is to use a simple open transition ring, or to use an elastic mandrel, the whole arc claw, etc., it is to increase the contact area of the workpiece during clamping. This method is conducive to bearing the clamping force, so as to avoid the deformation of the parts. The axial clamping force is also widely used in production. The design and manufacture of special fixture can make the clamping force act on the end face, which can solve the bending deformation of the workpiece due to the thin wall and poor rigidity of the workpiece.
Deformation caused by workpiece processing
In the process of cutting, due to the action of cutting force, the workpiece produces elastic deformation in the direction of force, which is often called the phenomenon of tool let. To deal with this kind of deformation, the corresponding measures should be taken on the cutting tool. When finishing, the cutting tool is required to be sharp. On the one hand, it can reduce the resistance formed by the friction between the cutting tool and the workpiece, on the other hand, it can improve the heat dissipation ability of the cutting tool when cutting the workpiece, so as to reduce the residual internal stress on the workpiece.
For example, when milling the large plane of thin-walled parts, the single edge milling method is used, and the tool parameters select larger main deflection angle and larger rake angle, in order to reduce the cutting resistance. Because of its light cutting speed, the tool reduces the deformation of thin-walled parts and is widely used in production.
In the turning of thin-walled parts, a reasonable tool angle is very important to the cutting force, the thermal deformation and the micro quality of the workpiece surface. The cutting deformation and sharpness of tool rake angle are determined by the size of tool rake angle. If the rake angle is too large, the cutting deformation and friction will be reduced, but if the rake angle is too large, the wedge angle of the tool will be reduced, the strength of the tool will be weakened, the heat dissipation of the tool will be poor, and the wear will be accelerated. Therefore, when turning thin-walled steel parts, high-speed cutting tools should be used, with rake angle of 6 ° to 30 ° and cemented carbide cutting tools, with rake angle of 5 ° to 20 °.
When the back angle of the tool is large, the friction force is small, and the cutting force is reduced correspondingly, but if the back angle is too large, the tool strength will be weakened. When turning thin-walled parts, use high-speed steel turning tool, the back angle of the tool is 6 ° to 12 ° and cemented carbide cutting tool, the back angle is 4 ° to 12 ° for finish turning and smaller for rough turning. When turning the inner and outer circles of thin-walled parts, take the large main deflection angle. The correct selection of cutting tools is a necessary condition to deal with workpiece deformation.
In machining, the heat generated by the friction between the tool and the workpiece will also deform the workpiece, so high speed machining is often chosen. In high speed machining, because the chip is removed in a short time, most of the cutting heat is taken away by the chip, which reduces the thermal deformation of the workpiece; Secondly, in high-speed machining, the reduction of softening part of cutting layer material can also reduce the deformation of parts, which is conducive to ensure the size and shape accuracy of parts. In addition, cutting fluid is mainly used to reduce friction and cutting temperature in the cutting process. Reasonable use of cutting fluid plays an important role in improving tool life, machining surface quality and machining accuracy. Therefore, in order to prevent the deformation of parts, it is necessary to use sufficient cutting fluid reasonably.
Reasonable cutting parameters are the key factors to ensure the accuracy of parts. When machining thin-walled parts with high precision requirements, symmetrical machining is generally adopted to make the stress generated on the two opposite sides balanced and reach a stable state. After machining, the workpiece is smooth. However, when a certain process takes a large amount of cutting, due to the imbalance of tensile stress and compressive stress, the workpiece will be deformed.
The deformation of thin-walled parts in turning is multifaceted. The clamping force when clamping the workpiece, the cutting force when cutting the workpiece, the elastic deformation and plastic deformation when the workpiece hinders the cutting tool, and the temperature in the cutting area increases, resulting in thermal deformation. Therefore, we need to rough machining, back feed and feed can be taken larger; When finishing, the tool amount is generally 0.2 ~ 0.5mm, the feed rate is generally 0.1 ~ 0.2mm/r, or even smaller, and the cutting speed is 6 ~ 120m / min. when finishing, the cutting speed should be as high as possible, but it is not easy to be too high. Reasonable selection of cutting parameters can reduce the deformation of parts.
Stress and deformation after machining
After machining, there are internal stresses in the part itself, and the distribution of these internal stresses is a relatively balanced state. The shape of the part is relatively stable, but the internal stress changes after removing some materials and heat treatment. At this time, the workpiece needs to reach the balance of stress again, so the shape changes. To solve this kind of deformation, we can stack the workpieces to be straightened into a certain height by heat treatment, use a certain tooling to press them into a flat state, and then put the tooling and workpieces into the heating furnace together. According to the different materials of the parts, we can choose different heating temperature and heating time. After hot straightening, the internal structure of the workpiece is stable. At this time, the workpiece not only gets a higher straightness, but also the work hardening phenomenon is eliminated, which is more convenient for further finishing of parts. The casting should be aged to eliminate the internal residual stress as much as possible, and then processed after deformation, that is, rough machining aging machining.
For large parts to adopt profiling processing, that is, to predict the deformation of the workpiece after assembly, the deformation is reserved in the opposite direction during processing, which can effectively prevent the deformation of parts after assembly.
Summary
I’ve summarized the following solutions for your reference!
1. In order to reduce the stress and deformation of the workpiece, proper and scientific aging treatment should be carried out for the material of the workpiece;
2. In order to reduce the deformation caused by too much cutting amount or too high temperature, the machining allowance should be set appropriately and the principle of small amount and many times should be adopted for slow machining;
3. For curved surface machining, it is necessary to make a suitable fixture to balance the clamping force of the workpiece, so as to reduce the deformation of the workpiece.
To sum up, for the easily deformed workpiece, the corresponding countermeasures should be adopted in the blank and processing technology. It needs to be analyzed according to different situations, and a suitable process route will be found. Of course, the above method is only to further reduce the deformation of the workpiece, if you want to get a higher precision workpiece, you need to continue to learn, explore and research.
